How to Wax a Car by Hand: Steps and Five Product Choices

To wax a car by hand, select a product permitted for the finish, prepare the surface and spread a thin coat with a suitable applicator. Remove residue at the stage that product specifies, then inspect the paint. Removal readiness, later curing, rain exposure and a second coat are separate checks, with no universal timer.
Check the finish before starting
This process is for ordinary glossy automotive paint with a hand-applied product permitted for that finish. It is not blanket guidance for matte paint, wraps, paint-protection film, fresh repainting or every coating system. If you cannot identify the finish or its maintenance restrictions, resolve that before adding wax.
Read the selected bottle before laying out tools. Confirm that you have instructions for the same formula, not just a similar name from the same brand. If the car already has protection, its maintenance requirements also matter. A new bottle is not automatically the next useful step.
Prepare only for the condition you actually have
Begin with a clean surface and complete the drying required by your chosen method. Use a suitable wash routine to remove dirt before applying protection. Do not turn the waxing applicator into a cleaning tool for a dirty panel.
Polishing is condition-dependent, rather than a required purchase for every hand-waxing job. Clay, compound, polish and multiple protectants are not a compulsory kit. If remaining contamination or a paint defect needs attention, identify that separate problem and its appropriate process first.
Set out:
- the selected product;
- its permitted applicator;
- separate clean removal cloths;
- enough lighting to inspect the result.
Keep a clean working face available. If you already own suitable supplies, there is no reason to buy another set simply because it appears next to a wax listing.
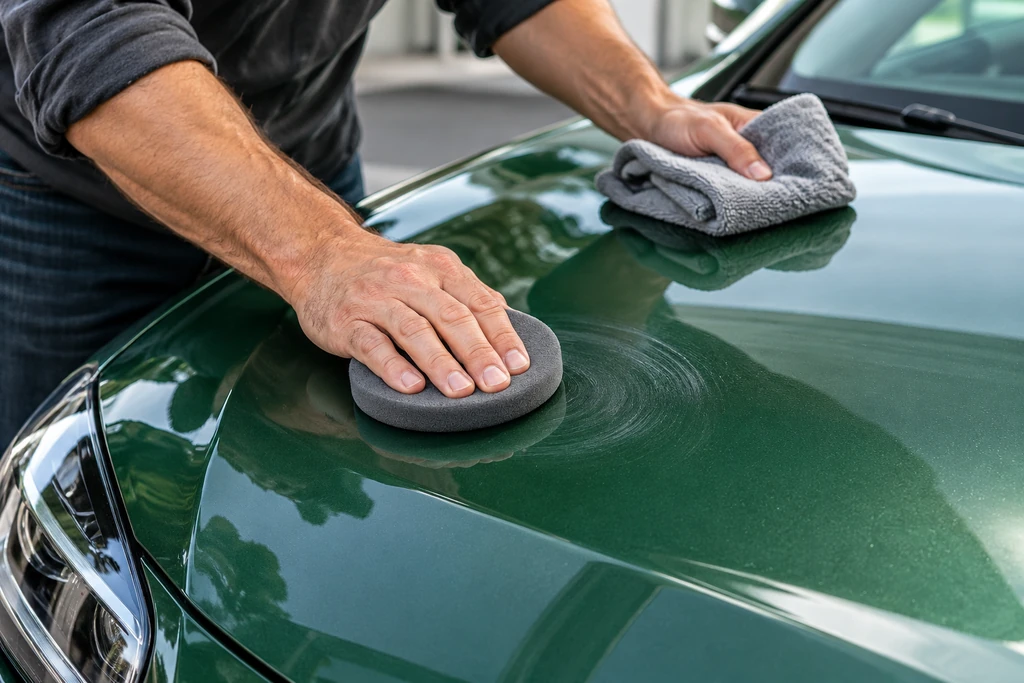
Work through the hand-waxing steps
Use this sequence for an applicator-applied wax whose own directions permit it. The spray alternatives further down the page use their respective spray instructions; they should not be poured onto a foam pad just to imitate a liquid-wax method.
| Stage | Check before acting | Action | What counts as completion |
|---|---|---|---|
| Select | Finish, existing protection and exact product | Read the matching instructions | The product and method are permitted for the job. |
| Prepare | Dirt, remaining contamination and required dryness | Complete the relevant cleaning and drying | You are ready for protection, not trying to clean through wax. |
| Apply | Applicator type and instructions | Spread the specified thin, even coat | Coverage is controlled rather than a heavy visible deposit. |
| Remove | The formula's own readiness instruction | Remove residue using a clean working face | The specified removal step is complete. |
| Inspect | Lighting and any missed residue | Look across the panel from more than one angle | You can identify areas needing attention before adding more. |
| Plan aftercare | Water, washing and another-coat restrictions | Check each separately | The next action is supported by the product's directions. |
Apply without building a thick layer
Use the applicator the selected wax permits. A foam or microfiber applicator is part of the documented Butter Wet Wax method, for example; it is not proof that every product takes either tool. Shake a bottle when its instructions require it.
Start in a manageable section. Spread a thin, even coat with controlled passes rather than trying to lay down a visibly thick layer. Work in conditions permitted by the product, with the car parked and the area easy to inspect. Do not introduce a machine into a hand-only process to compensate for uncertain technique.
Remove at the specified stage
Some products describe a haze or readiness check; others describe wiping or buffing without a numeric delay. Use the selected formula's instruction to decide when to remove residue. A countdown from a general guide cannot establish removal readiness for all waxes.
Use a clean microfiber working face and change it when needed rather than redistributing residue. Keep the applicator and removal cloth roles separate. If removal behaves unexpectedly, stop and recheck the product, surface and instruction instead of increasing pressure or adding a stronger chemical.
Inspect before adding anything else
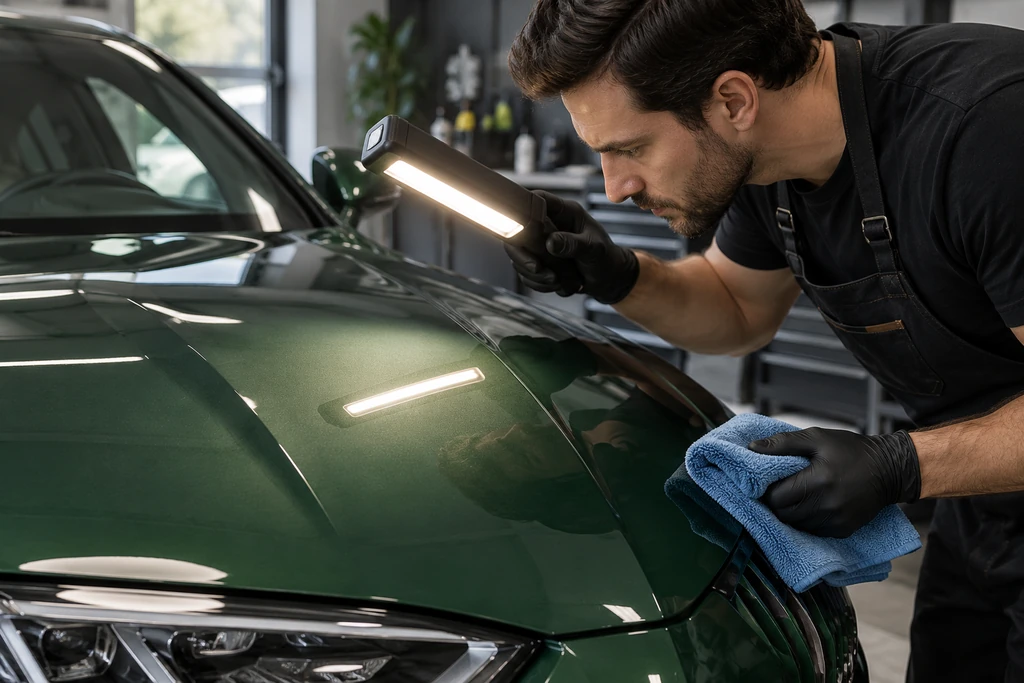
View the stationary car from different lighting angles and look for missed areas or residue. Follow the product's method to address what you can identify. Do not assume that every uneven patch is paint damage, or that another coat will correct it.
Check that you have completed the chosen application and removal sequence. A glossy appearance or a photograph does not establish months of protection, scratch resistance or permission for immediate washing.
After the job, follow the applicable microfiber towel washing guidance before putting used cloths back with clean finishing supplies.
Keep four timing questions separate
| Question | What it means | What not to infer |
|---|---|---|
| When can I remove residue? | The product's stated removal stage | Every wax needs the same haze or minute count. |
| Has later curing finished? | Any subsequent setting period the formula specifies | Residue removal proves all later restrictions are over. |
| When can the car meet rain or be washed? | Product-specific exposure and aftercare guidance | A second-coat interval is automatically the rain interval. |
| When may I add another coat? | A separate layering instruction, if one exists | An optional second coat is mandatory, or more products are always better. |
For example, Turtle Wax's Ceramic Spray Coating instruction places 24 hours before another coating. This guide does not transfer that number to Seal N Shine, Butter Wet Wax, rain exposure or a first wash. Where an interval is not established, leave the question open and check the bottle or manufacturer; unknown does not mean zero.
Five product choices for a hand-applied protection step
The first three choices are liquid waxes to check for an applicator-based process. The last two are clearly identified spray alternatives. The order follows method fit and product identification; it is not a measured longevity ranking or a recommendation that everyone buy the first bottle. Choose one suitable process.
- Chemical Guys Butter Wet Wax — a documented thin-coat exampleBest fit: a reader who wants a liquid-wax example with a stated foam-or-microfiber application and microfiber residue removal.
- Meguiar's Ultimate Liquid Wax G210516 — verify the bottle and contentsBest fit: a reader considering the named 16 oz synthetic liquid wax for a separate protection step.
- Collinite No. 845 Insulator Wax — keep its own processBest fit: someone who wants a hand-applied wax worked one section at a time.
- Turtle Wax ICE Seal N Shine — a spray alternativeBest fit: a reader who decides a spray-and-microfiber method is preferable to spreading a liquid wax with an applicator.
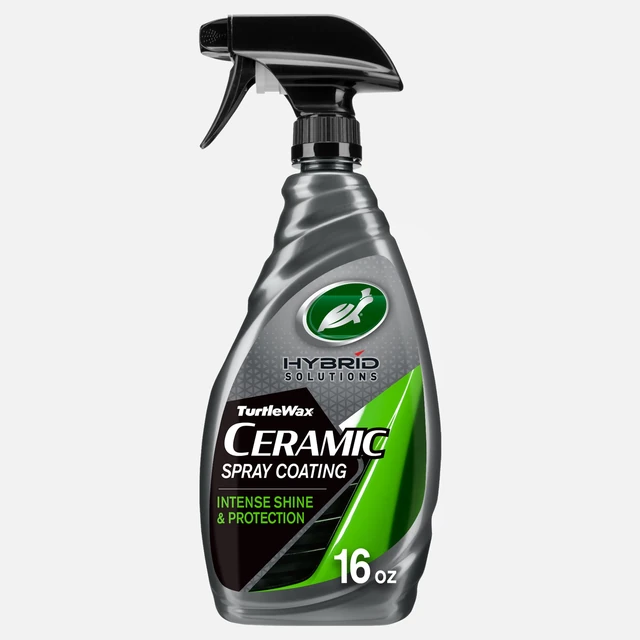
- Turtle Wax Hybrid Solutions Ceramic Spray Coating — a second spray branchBest fit: a reader specifically choosing this 16 fl oz spray and willing to use its own section-based process.
01Documented task fit
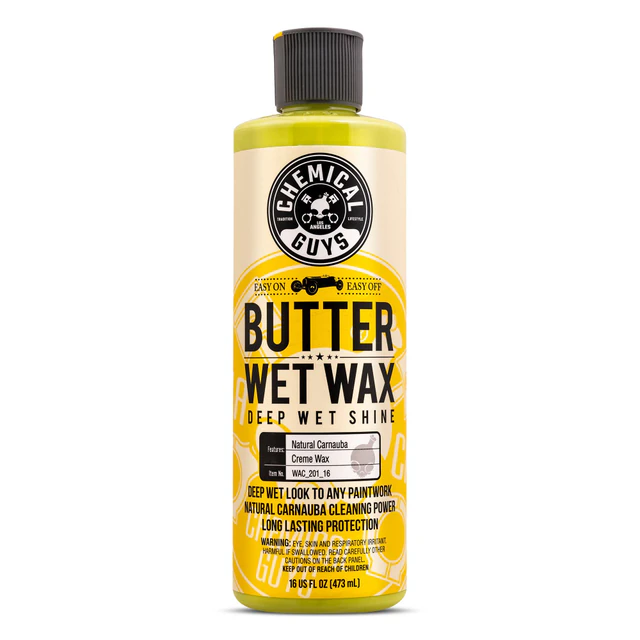
1. Chemical Guys Butter Wet Wax — a documented thin-coat example
Best fit: a reader who wants a liquid-wax example with a stated foam-or-microfiber application and microfiber residue removal. Match WAC_201_16, 16 oz.
Trade-off: the product name does not specify wet-car application. Follow its exact directions and do not invent a universal wait. Read the Butter Wet Wax instructions in context if this is the bottle you choose.
02Documented task fit
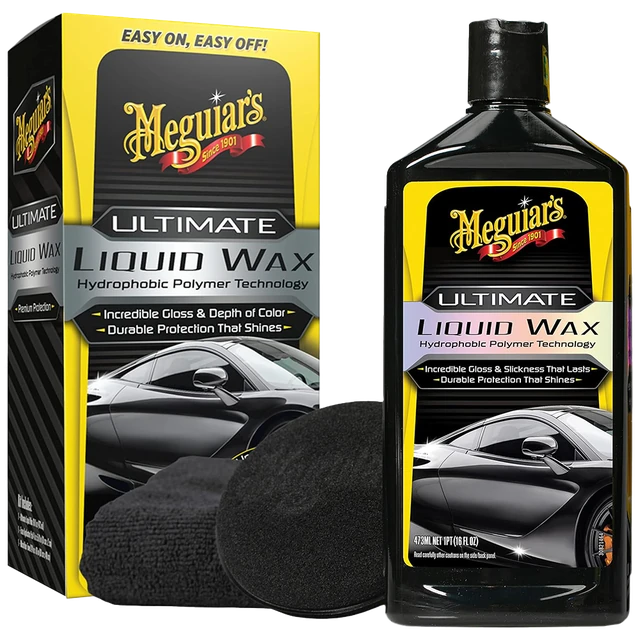
2. Meguiar's Ultimate Liquid Wax G210516 — verify the bottle and contents
Best fit: a reader considering the named 16 oz synthetic liquid wax for a separate protection step. The model identifier helps distinguish it from Ultimate Quik Wax and Hybrid Ceramic Liquid Wax.
Trade-off: neither the process above nor another Meguiar's bottle supplies its full product-specific instructions. Check the G210516 identity and package, including what the actual offer contains, before buying additional cloths or an applicator.

03Documented task fit
3. Collinite No. 845 Insulator Wax — keep its own process
Best fit: someone who wants a hand-applied wax worked one section at a time. Collinite's own FAQ specifies a thin layer for hand application and microfiber removal. It also explains that No. 845 can become thicker in colder conditions and thinner in warmth; either consistency can be used.
Trade-off: consistency is not a removal-readiness test. Verify No. 845 and the selected bottle size, then consult the No. 845 review and current product information for its process. This guide does not establish its advertised protection period or transfer another wax's timer.

04Documented task fit
4. Turtle Wax ICE Seal N Shine — a spray alternative
Best fit: a reader who decides a spray-and-microfiber method is preferable to spreading a liquid wax with an applicator. Match ICE Seal N Shine, 16 fl oz.
Trade-off: this is a different application branch, not a required extra step after waxing. The Seal N Shine review separates that branch's instructions from optional additions and unresolved waiting questions.
05Documented task fit
5. Turtle Wax Hybrid Solutions Ceramic Spray Coating — a second spray branch
Best fit: a reader specifically choosing this 16 fl oz spray and willing to use its own section-based process. Select Ceramic Spray Coating rather than Ceramic Wet Wax.
Trade-off: its layering direction is not a generic hand-wax cure rule. Use the comparison with Seal N Shine to decide between those named sprays, without treating “ceramic” as proof of tested superiority.
Questions before the next step
Do I have to clay and polish before every wax?
No. Preparation depends on the surface and the selected product's instructions. A clean car with no identified correction need does not acquire one because a shopping kit contains a polish.
Can this guide tell me exactly how many minutes to wait?
It cannot give one reliable number for all formulas. Check the removal instruction for the exact wax you selected and keep it separate from any later curing, water or layering instruction.
What should I do if residue remains?
Check that you used the correct product, application amount, readiness stage and a clean cloth. If you cannot identify the problem, pause before more rubbing, layering or chemical treatment and consult the matching guidance.
Should I buy all five products to get the best result?
No. The cards offer different choices and methods. This guide supplies no evidence that stacking them improves the result; a suitable product and the tools you already own may be enough.
Sources and process scope
This is an instruction-based guide, not a record of a physical wax comparison. Chemical Guys' general guide provides the broad hand-application sequence; named product directions control the details. Product photos and process illustrations do not demonstrate measured protection or durability.
Chemical Guys general hand-waxing guide
Butter Wet Wax WAC_201_16, 16 oz
ICE Seal N Shine, 16 fl oz
Hybrid Solutions Ceramic Spray Coating, 16 fl oz
Meguiar’s Ultimate Liquid Wax G210516,16oz
Collinite No. 845 Insulator Wax
If the format decision is still open, start with liquid waxes for cars. If you have already chosen a bottle, return to the hand-waxing steps with its current instructions and the finish requirements beside you.